(click on any picture to see larger version)
Elecraft has seemingly come up with the perfect scheme for getting me to part with my cash - namely, their "Mini-Module" kits. For between $15 and $90 (depending on the kit), one can have some very, very cool station accessories.
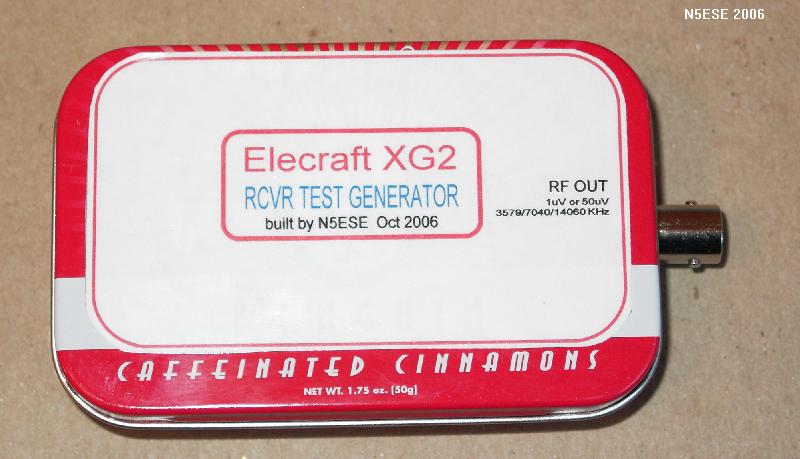
Among them are the XG2 ($59), and it's lesser companion, the XG1 ($39). Both are fixed-frequency signal generators with known accurate output levels. They can be used as an adjunct to the ham receiver, for troubleshooting or aligning. Each provides two switch-selectable output levels: 1 uV and 50 uV (or roughly, S2 and S9 level signals). Output level is claimed to be accurate to within 1 dB. The XG1 is a single-band device (40 Meters); the XG2 is a 3-band device (80, 40, and 20 Meters)
How many times have I gotten on a dead band and wondered if my receiver was working? If I had the XG1 or XG2, I would know, because I could easily pop it onto the antenna terminal of the rig, set it for 1 uV, and see if all was well.
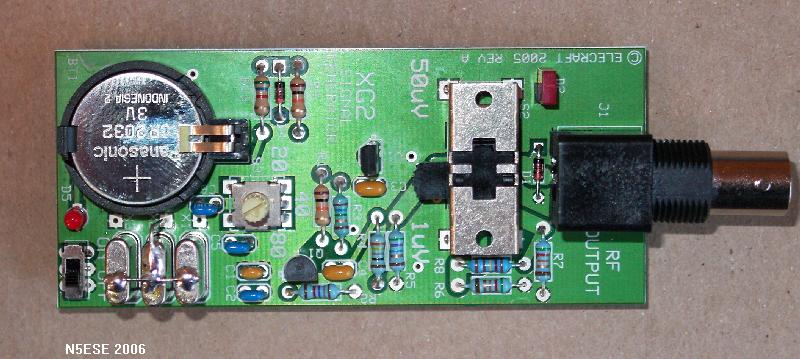
Construction This is a pretty simple and straightforward kit, which even a beginner could assemble, given the soldering equipment. There is no enclosure. Fully assembled, as intended by Elecraft, the unit looks like this:
But you know I couldn't leave well enough alone ;-)
I just had to have it in an Altoids tin (well, some kinda tin), but it wouldn't quite fit in, with its standard form factor. Now, anybody that has observed me knows that I don't hesitate a nanosecond to modify anything, even if it's brand new or might ruin its collectible or resale value. Hey, it's all just "radio junk", right? (and even more so when I'm through with it HI HI).
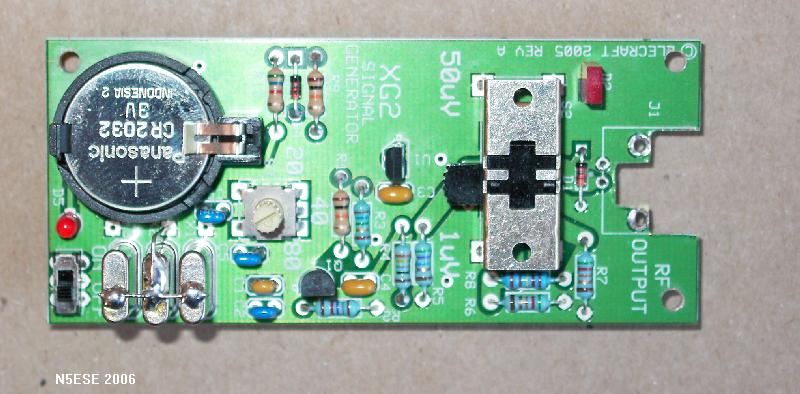
So I figured out that I could get it squeezed into an Altoids tin, but I would need to remove the supplied pc-mounted BNC connector, do some trimming (I can hear the groans), and shoehorn it into the tin using a panel-mounted BNC. To make room for the BNC's interior profile, I used a nibbling tool to create a cutout in the pc board, which you can see at the right in the photo below:
Then, I was able to mount both the board and the BNC connector inside the Altoids tin. Following is a picture showing the fit of the BNC connector into the cutout made earlier:
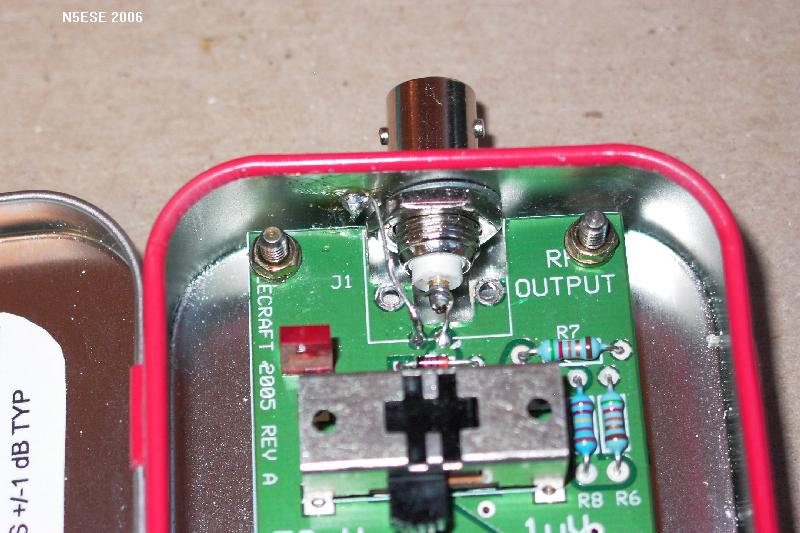
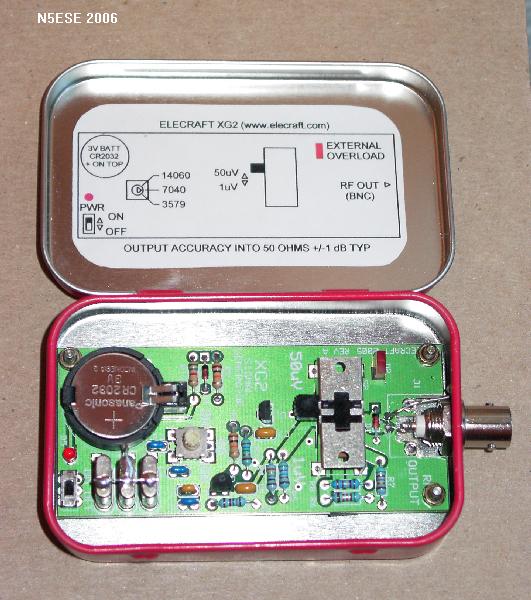
For spacers in Altoids tins, I like to use the screwjack assemblies that are commonly used for mounting sub-D connectors (like computers use). You can get these from electronics supply houses for about 50 cents each, including nuts and washers. Finally, we prettied it up a bit with a cheat sheet on the inside cover, and here's our picture:
Observations and Conclusions
I measured the output using my M-Cubed FMP-1 Power Meter, and at the 50 uV level, it read about -72.6 dBm, within a dB of its nominal value (-73 dBm). At the 1 uV level, I listened to it on my ham-band receiver. Pure, solid crystal-controlled tone on all bands, easily detected.
I'm glad I purchased this little jobberdoo. I'll throw it in the big field kit, and keep it handy for next time paranoia strikes and I think my receiver has gone dead.
73,
Monty N5ESE
dit dididit dit